
One of the more popular projects that comes to mind for those in the market for custom printing is a run of jerseys or shirts with names and numbers on the back. It's one thing to get custom shirts made for your group or team, but adding a name or number to the back of each unit adds a special note of true customization; that you have a one-of-a-kind item in your closet that stands out even when you're with the group with the same t-shirts.
It's personalization on top of customization; everything Good Ink does is customized, but not everything Good Ink does is personalized. If you didn't know that's a service we offer, then you are in the right place! This blog will break down everything from types of projects, colors available, and how production works.
What is Personalization?
Customization is putting the same artwork on a run of shirts and personalization is adding a name, number, or both to the shirt. It's great for sports teams, clubs, trips, or any other group that wants a little extra step of the custom printing treatment. Basically, we cut your name or number out onto a piece of vinyl and steam that into the garment, but there's much more to it than that!
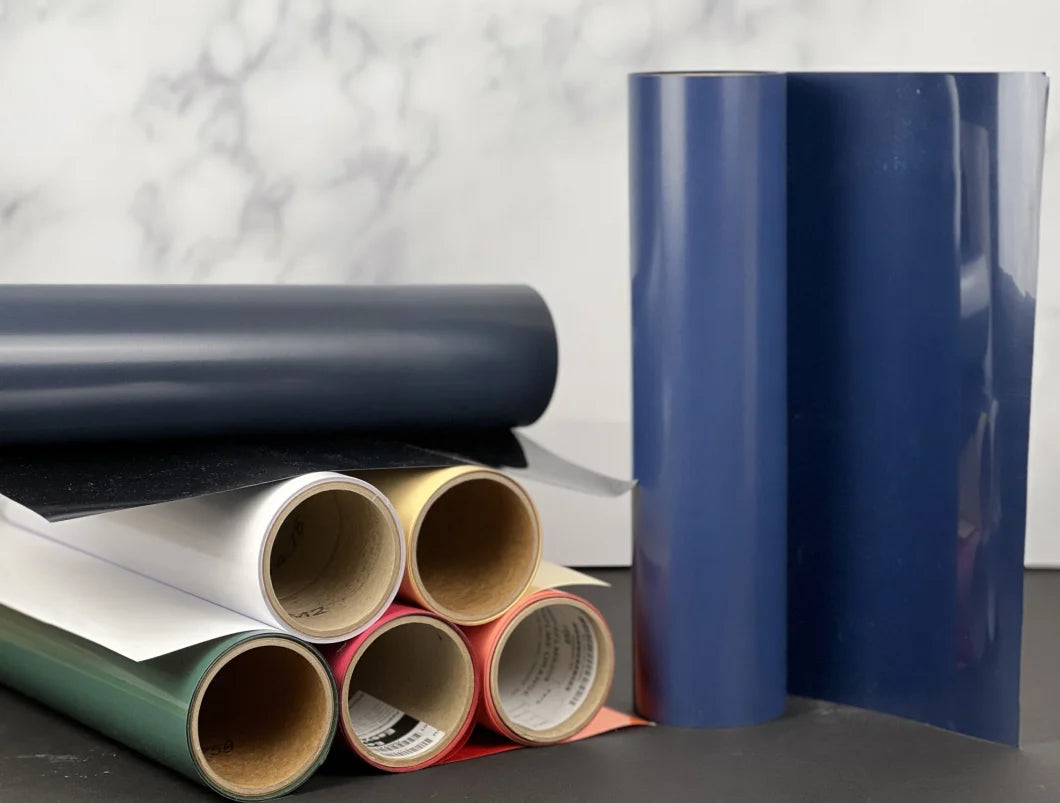
In screen printing, we have virtually endless color options, but for the personalization process we are more limited in available colors/patterns but can certainly track one down for you. Below are the 'stock' colors and as always, if there's a color you're dying to use we can make that work!

How Does it Work?
In classic screen printing, we set up screens with your design and pull inks over the shirts that way, but since it would cost a small fortune to set up a single screen for each name or number, we design the roster digitally and cut the personalization out on a heavy duty vinyl and then heat press it into the garment. The vinyl we use has a semi-glossy look and feels a little different than a screen print, but they still last just as long through many trips to the washing machine. All we need from you is what sizes need what names and numbers and we take care of the rest!
The Process
I'll be using a past personalization project as the running example for different parts of the production process. Earlier this year, a local youth dance studio used their custom artwork on the front and personalized names on the back for their staff. Here's the final product, which used a special silver glitter vinyl on the back and a white ink screen print front:

Step 1: After we have the roster, we build the vinyl cut file.

In Adobe Illustrator we build and group everything on the roster so we are efficient on space but also leave enough room for the cutter to get all of the letters cleanly and enough room for the production team to separate the names from the roll of vinyl. For bigger orders or ones that have multiple units going on a shirt, the files get much more crammed and we have to be very organized to make sure everything from the roster makes it.

Step 2: After the roster's been created (and checked!) we send it to the vinyl cutting printer, which uses a special software to tell the blade where to cut - if we've loaded the vinyl properly then it follows our file exactly and leaves us the names and numbers.

One of the most important steps is to "mirror" the cut file - since it gets pressed onto the shirt the vinyl that we cut out needs to be mirrored otherwise we need to re-cut the file. Then we cut!

Not every design or roll of vinyl has the same specs so we have to dial in the power (how much force the blade applies to the roll when cutting) and speed at which it cuts. If you want something personalized, keep in mind that big and uncomplicated designs work best.
Step 3: Once the vinyl is cut we have to "weed" out of the part of the vinyl that won't go onto the garment, so we cut the individual names and numbers and then use tweezers to peel away the parts of the design that we don't need. This is why we avoid small and intricate designs; I've weeded designs that feel like they require a microscope and it bogs down the production process.
Step 4: After the vinyl has been cut, trimmed, and weeded, we press it onto the garment using our heat press. This is the easy part; more or less it's as simple as pre-heating the garment (to get wrinkles and moisture out of it), lining up the design, and let it cook! Check out this video on our Instagram page of how the heat press part of the process works.
Is Personalization Right for My Project?
If you think so, then we can make it work! While it does a great job of bringing your custom print job to the next level, it still isn't for everyone.
Pros:
- Everyone in your group can show off their flare of personality
- Low quantity decoration
- Durable
- Can be located almost anywhere on the garment
Cons:
- Not every design translates well to the print/cut method
- Limited volume discounts
- Time consuming process at high volume
- Only recommended for a handful of standard garments
As always, it never hurts to ask - shoot us a note if you want to learn more about how personalization can work for your project!