Design Guidelines
Designing for Screen Printing
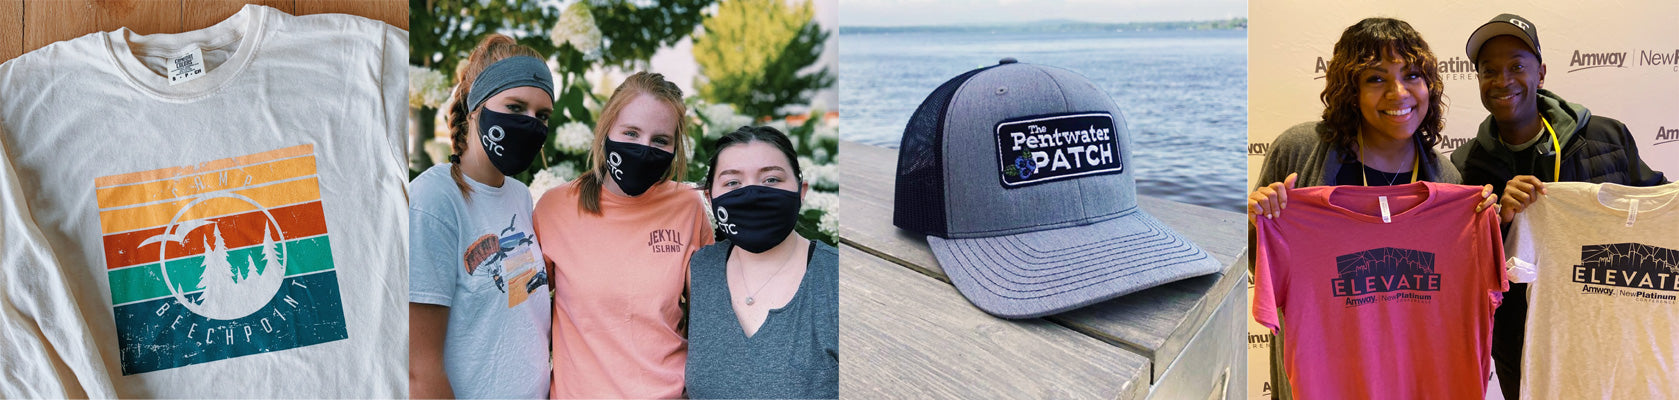
Screen printing is a timeless method for decorating all kinds of garments. A large majority of our orders are screen printed because it produces great results and is cost-effective.
Screen printing involves creating a mesh stencil (also known as a "screen") and then using that stencil to apply ink to the printing surface. Inks are pushed through the mesh screens one color at a time.
Because of the time required to set up and create a screen, multi-color jobs are more expensive than single-color jobs. The process of setting up a screen is the same for 25 or 2500 shirts so higher quantity orders enjoy the lowest pricing.
Key Takeaway: we are capable of screen printing up to 12 colors. 90% of our jobs are in the 1-2 color range. When creating original artwork, we try to design with fewer colors to keep the item cost-effective for the customer.
Vector Artwork
To achieve the highest quality print, every element of artwork created for our screen printing process must be vector. Raster elements need to be image traced or re-created as paths. Some raster artwork is accepted at 1200dpi or higher but it is rare that we work with raster images. We utilize Adobe Illustrator and prefer AI files.

Ink palette
We have a standard set of inks that we use (see above). This palette should be used whenever possible, however, we can mix custom colors to Pantone Matching System specifications for a nominal fee. This is applicable when trying to match brand standards or doing a custom design. We use the Pantone Solid+ Coated Color Book.
Dimensions and Artwork Placement
Depending on the garment, there are all kinds of options for placing artwork. The most common are full front, left or right chest, back, and left or right sleeve.
Front and Back: for standard unisex t-shirts, our max printable area is 12" wide by 14" high. Prints are generally placed 2" from the collar.
Left/Right Chest: standard chest prints are max 4" wide by 3.5" high.
Hoodies: because of the pocket on the front of hoodies, our max printable height is limited to 10".
Youth: the max printable width on youth garments is generally 11.5" but the full 14" height can be used. Toddler tees max out at 9" wide. Infant tees are limited to 6" width.
Sleeves: short sleeve prints are generally placed 1″ from the seam. 3.75" x 3.75" max-width and height. Long sleeves can be 3.5" wide by 14" high.
Designing for Embroidery
Embroidery is the art of stitching designs into a garment with a needle and thread. We can embroider on pretty much anything that our hoops can fit in: jackets, backpacks, duffel bags, beanies, you name it.
Key Takeaway: embroidery only works well with simple artwork. Fine lines and details can easily be lost during the stitching process. No part of a design to be embroidered should be smaller than 0.2 inches.
Dimensions and Artwork Placement
Hats: for the front of hats, we are limited to a maximum width of 4" and 2" height.
Garments: typical placement for embroidered pieces is left or right chest. We recommend no more than 4" width for left or right chest applications.
Embroidery increases in cost as the number of stitches increases, therefore doing a large area of embroidery can be expensive.
Best Practices
Outline strokes - in your artwork file, make sure all strokes are outlined to make sure the artwork can scale properly.
Outline fonts - in your mockup file, please outline your fonts so that the artwork file is portable and usable regardless of if the computer has the font installed or not.
Expand artwork - in the artwork file, please expand the artwork so any mesh objects or other artwork are paths. To do this in Illustrator, select Object > Expand (or Expand Appearance)
Embed images - if you've pasted or placed any images in your artwork (shirt images in particular), make sure you embed the file so that we aren't missing any links when we try to open the file on our computers.

Pantone identification - in cases where you're using custom colors, please call out their Pantones. We utilize the Pantone Solid+ Coated Color Book. In Illustrator, select your artwork > Edit menu > Edit colors > Recolor Artwork (you may need to select Advanced)
Then select the Pantone+ Solid Coated from the Color Books.
Double-clicking on each color will show you the closest Pantone match to the color in the artwork.
Ensure colors can be easily changed - when using the Pathfinder tool, empty paths or compound paths can show up and require removal before changing colors.
Work in RGB color - we handle ink color matching at a later point and we deliver our proofs to customers digitally so please work in RGB colorspace.